Jupyter Notebook Tutorial
In this class, we will use Jupyter Notebook for the programming assignments. A Jupyter notebook lets you write and execute Python code in your web browser. Jupyter notebooks make it very easy to tinker with code and execute it in bits and pieces; for this reason Jupyter notebooks are widely used in scientific computing.
Installing and running Jupyter is easy. From the command line, the following will install Jupyter:
pip install jupyter
Or the following if you use conda/Anaconda:
conda install jupyter
Once you have Jupyter installed, start it with this command:
jupyter notebook
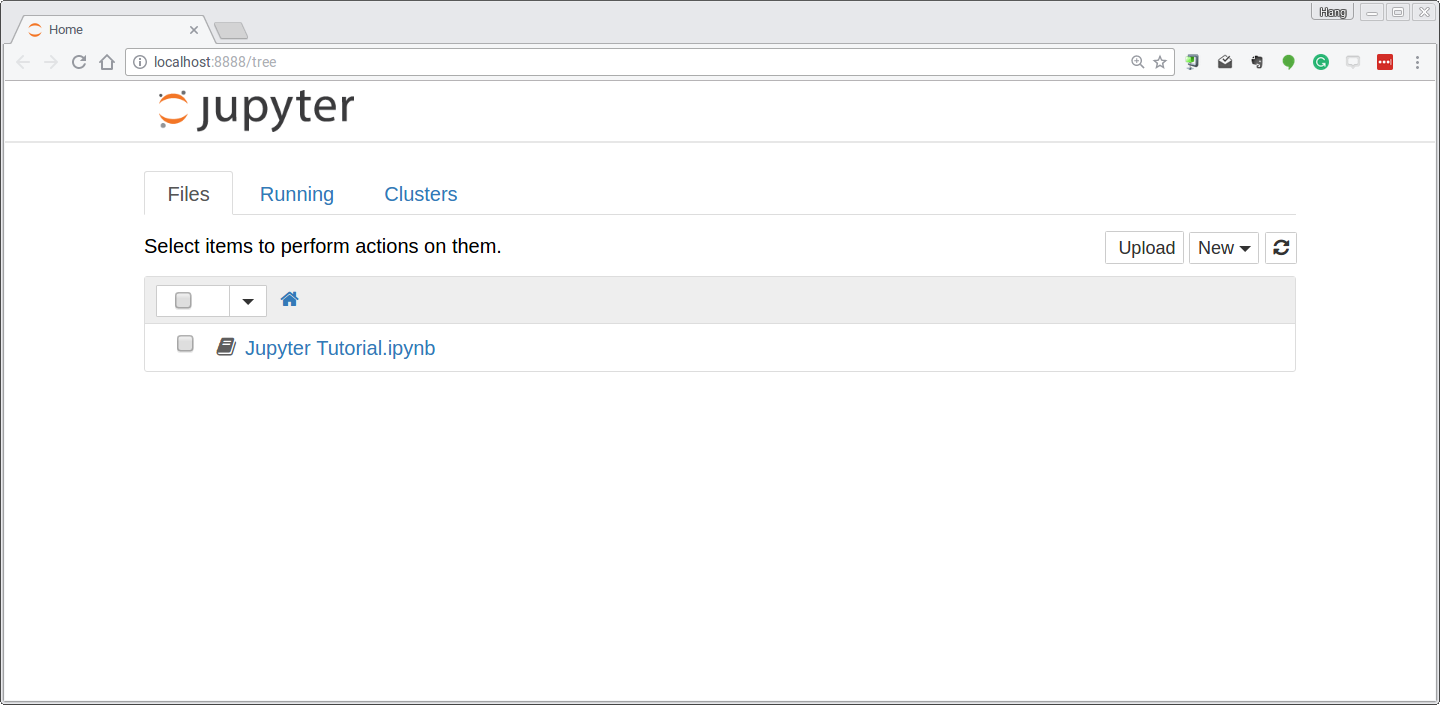
Once Jupyter is running, point your web browser at http://localhost:8888 to start using Jupyter notebooks. If everything worked correctly, you should see a screen like this, showing all available Jupyter notebooks in the current directory:
If you click through to a notebook file, you will see a screen like this:
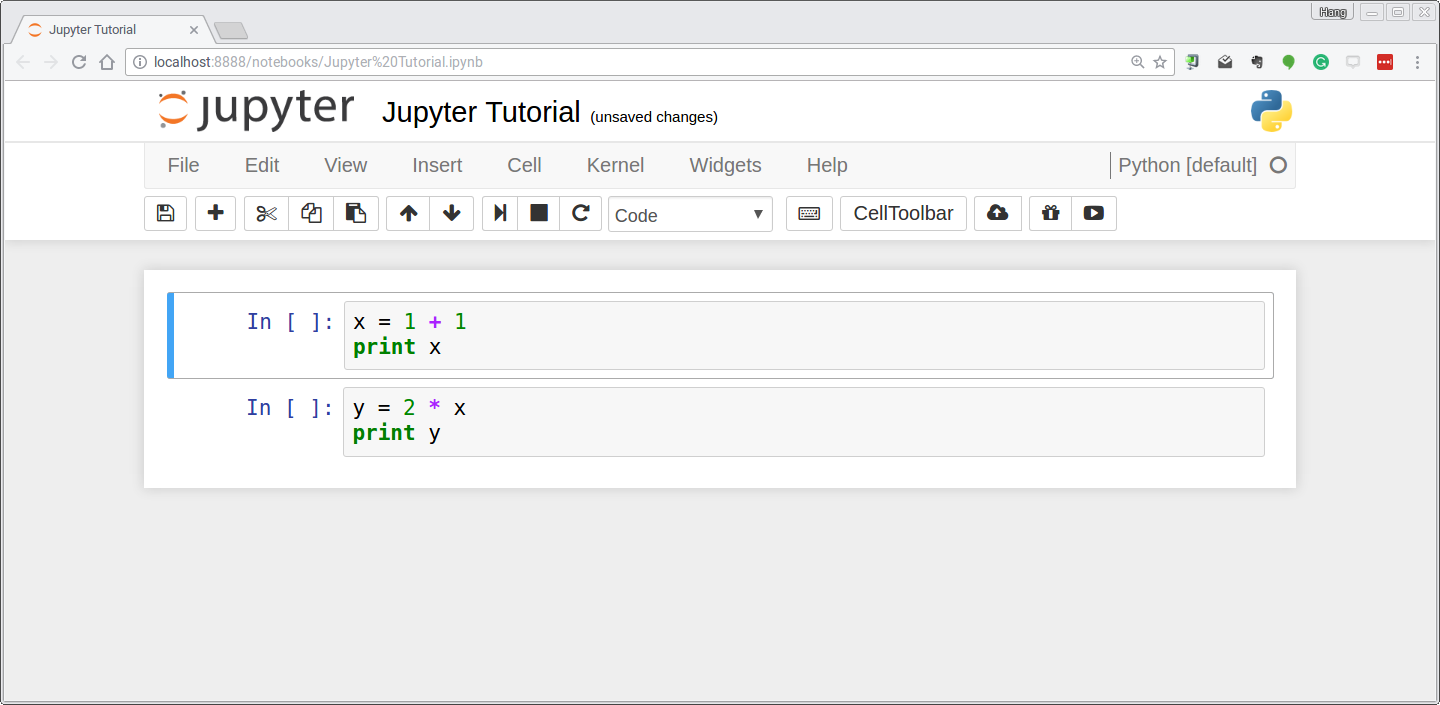
A Jupyter notebook is made up of a number of cells. Each cell can contain
Python code. You can execute a cell by clicking on it and pressing Shift-Enter.
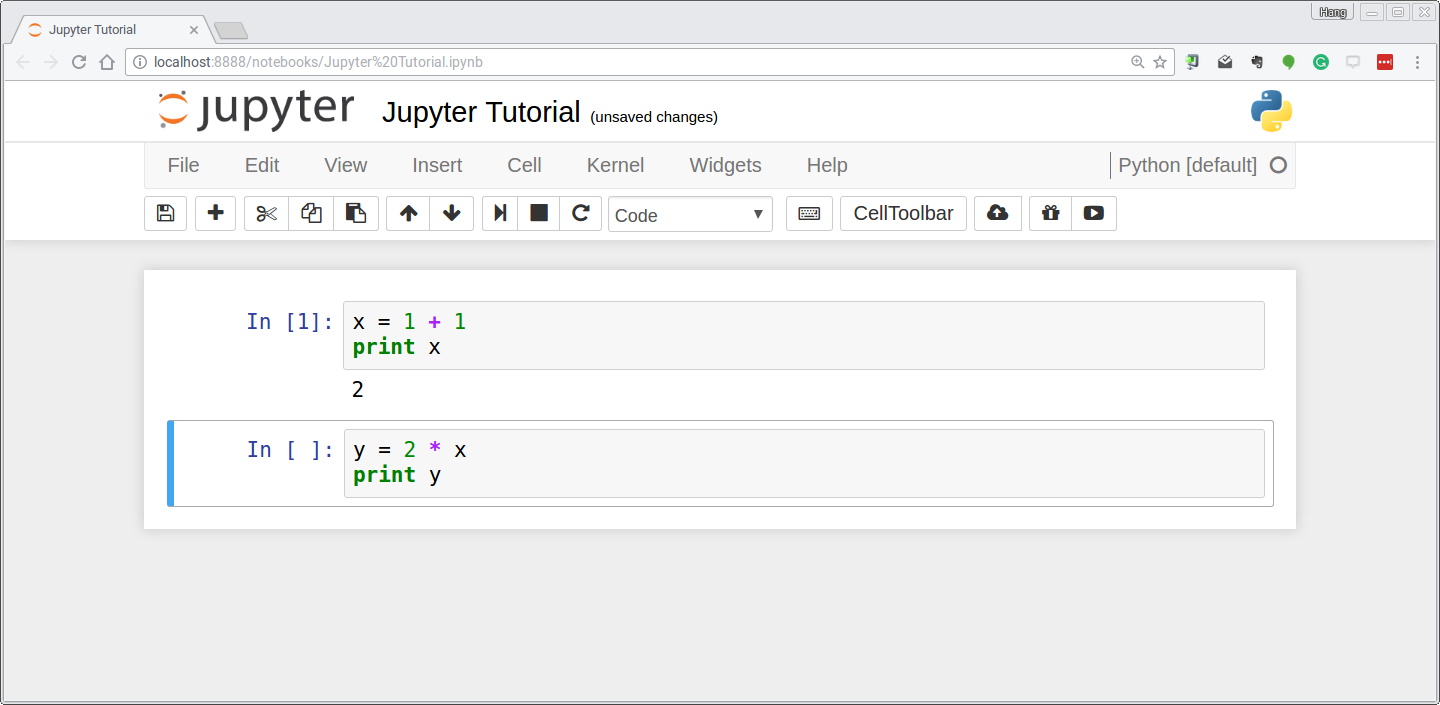
When you do so, the code in the cell will run, and the output of the cell
will be displayed beneath the cell. For example, after running the first cell
the notebook looks like this:
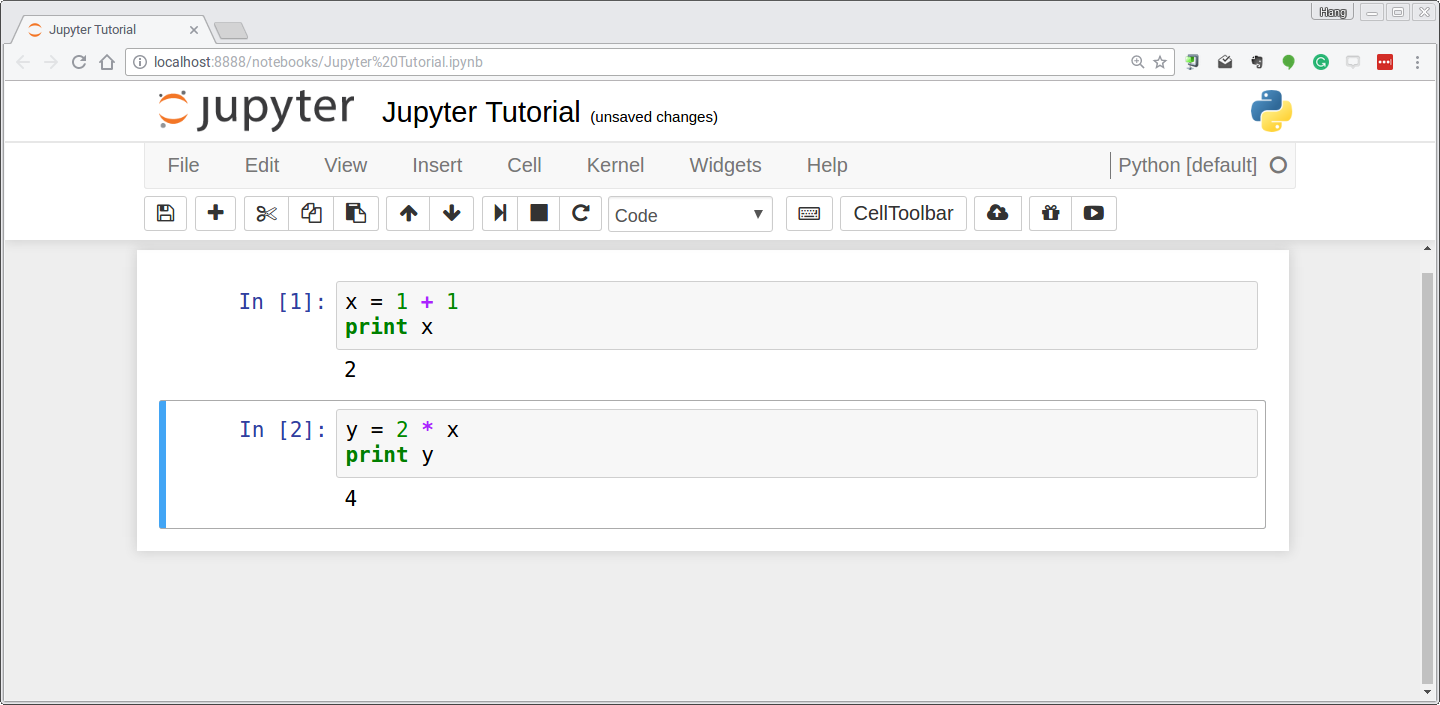
Global variables are shared between cells. Executing the second cell thus gives the following result:
By convention, Jupyter notebooks are expected to be run from top to bottom. Failing to execute some cells or executing cells out of order can result in errors:

After you have modified a Jupyter notebook for one of the assignments by modifying or executing some of its cells, remember to save your changes!
This has only been a brief introduction to Jupyter Notebook, but it should be enough to get you up and running on the assignments for this course. Check out these notebooks if you want to learn more.